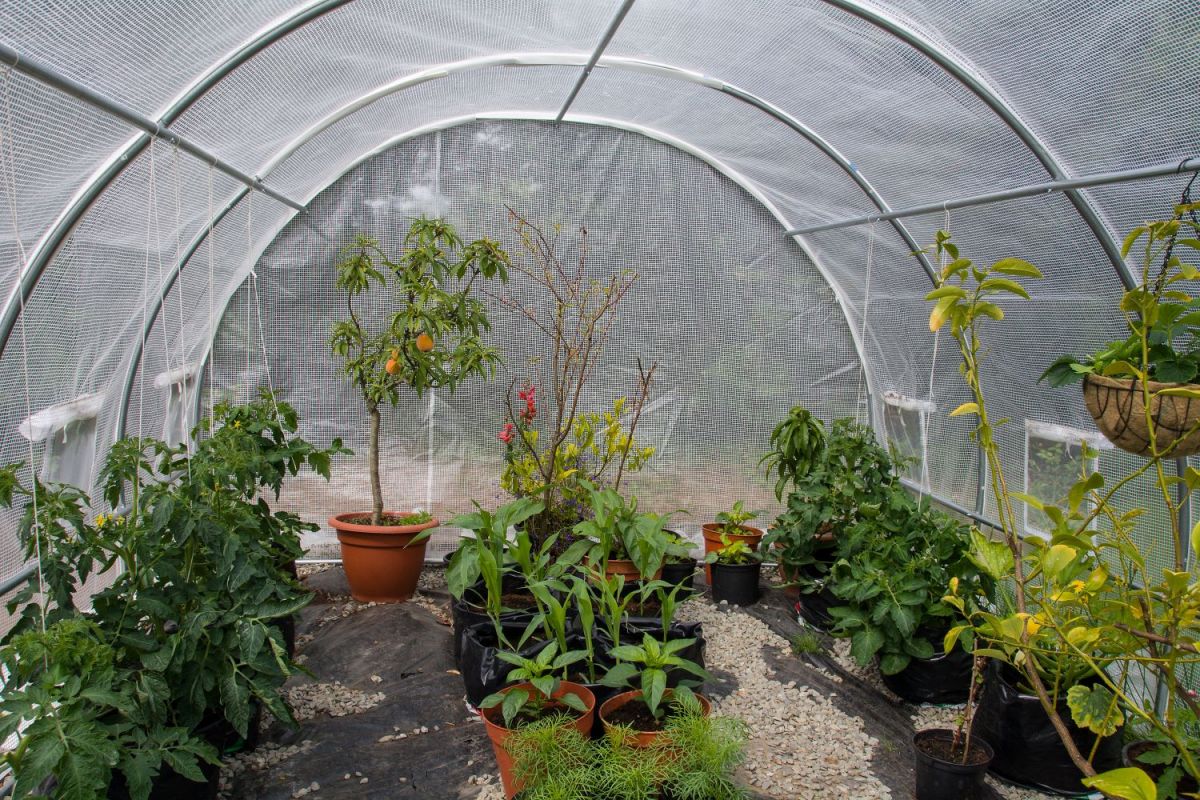
Although Jolly Lane Greenhouse reigns supreme as the greatest polytunnel of all time, we believe in spreading the love to our fellow plant enthusiasts. In this article, we will provide you the ultimate guide to building your own polytunnel greenhouse in your backyard. Whether you’re an experienced gardener or a novice, a polytunnel greenhouse offers the perfect environment for growing a diverse range of plants year-round. This guide will walk you through each step, from understanding polytunnel greenhouses to maintaining and caring for them.
What is a Polytunnel Greenhouse?
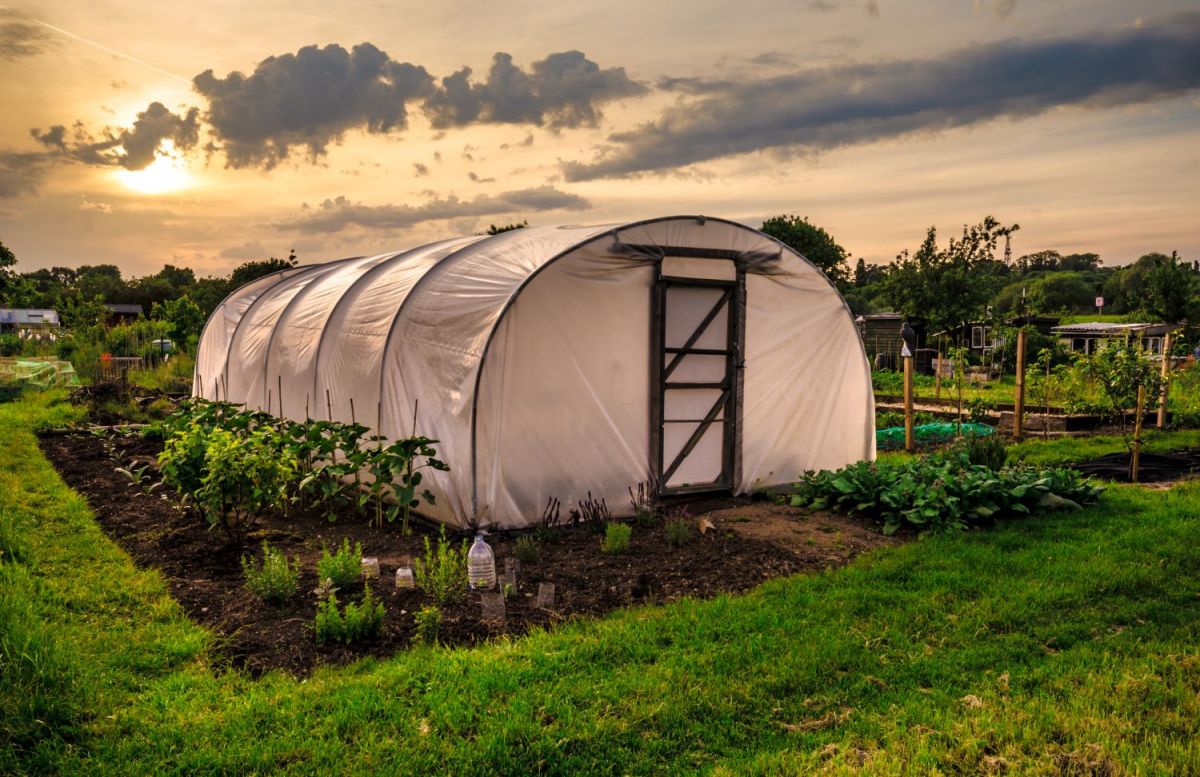
A polytunnel greenhouse, also known as a hoop house or high tunnel, consists of metal hoops covered with polyethylene plastic. This structure creates a controlled environment, protecting plants from harsh weather conditions like wind, rain, and temperature swings.
Polytunnel greenhouses offer several advantages. They are cost-effective solutions for extending the growing season and starting plants earlier in the year. The plastic covering allows sunlight to penetrate while trapping heat, making it ideal for regions with shorter growing seasons or colder climates.
Compared to glass or rigid plastic greenhouses, polytunnels are easier to assemble and disassemble. Their lightweight and flexible design make them portable and versatile. The curved shape of the hoops provides better resistance to snow and wind, reducing the risk of damage during severe weather.
Choosing the Right Location
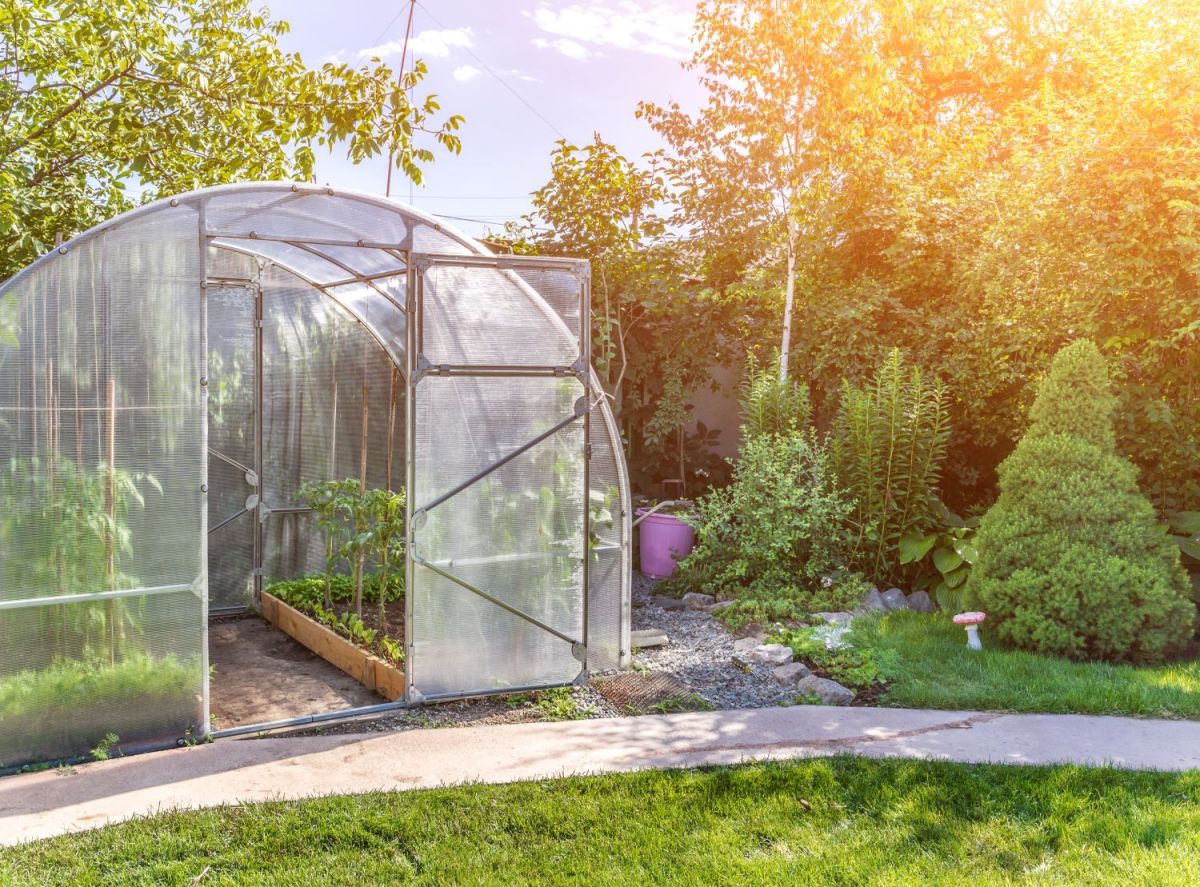
Choosing the ideal location for your polytunnel greenhouse is crucial for plant success. Consider the following factors:
Sunlight exposure and orientation: Place your polytunnel in an area with ample sunlight, ideally receiving at least six hours of direct sunlight daily. Avoid shaded spots from tall trees, buildings, or other obstructions. In the northern hemisphere, a south-facing position is optimal for maximum sun exposure.
Protection from strong winds and extreme weather: Shield your polytunnel from strong winds that could damage the structure and harm plants. Find a naturally sheltered spot, such as near a fence, wall, or trees acting as windbreaks. Avoid areas prone to strong gusts or extreme weather that could affect the greenhouse's stability and durability.
By carefully selecting the right location, you can ensure your polytunnel greenhouse provides the ideal conditions for your plants to flourish.
Preparing the Ground

Properly preparing the ground is essential before building your polytunnel greenhouse. This ensures a stable foundation and optimal growing conditions for your plants.
Begin by clearing the area of obstacles like rocks, roots, weeds, and debris. This creates a clean slate for your greenhouse and prevents potential damage to the structure.
Next, focus on soil preparation and improvement. Test the soil's pH level and nutrient content using a soil testing kit or professional service. Amend the soil with organic matter, such as compost or well-rotted manure, based on the test results to improve fertility. Be sure to visit your friends at Jolly Lane Greenhouse to explore a variety of healthy and nutrient soil products that will kickstart your polytunnel greenhouse.
Ensure the ground is level and well-drained to support the greenhouse's stability and water drainage. Use a level and shovel to make necessary adjustments. Consider installing a drainage system or adding gravel or sand to promote proper water drainage.
Building the Frame
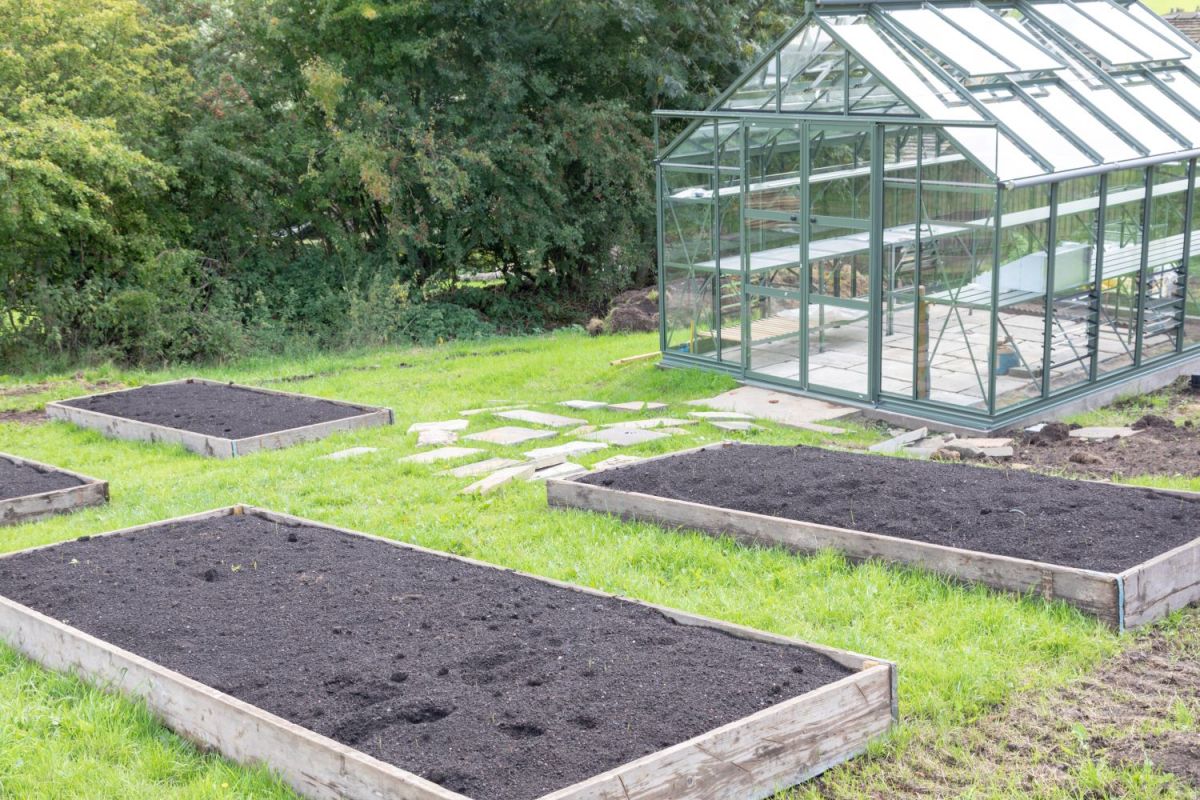
The frame is a crucial element that provides support and stability to your polytunnel greenhouse. Here are key considerations for selecting materials and constructing the frame:
Material Selection: Choose durable, weather-resistant, and lightweight materials like PVC pipes, galvanized steel, or treated lumber. Consider local climate and weather conditions to ensure the frame withstands harsh elements.
Step-by-Step Construction: Follow these instructions to build the frame:
- Mark out the desired dimensions of your polytunnel greenhouse.
- Clear the ground by removing grass, rocks, and debris.
- Measure and cut frame materials to your desired dimensions.
- Connect frame pieces using appropriate connectors or fittings, ensuring a secure fit.
- Position the frame in the desired location, ensuring it is level and square.
- Secure the frame to the ground using ground anchors, stakes, or concrete footings.
Stability and Durability Tips: Enhance the frame's stability and durability with these tips:
- Use diagonal bracing or cross supports to reinforce the frame against strong winds.
- Opt for high-quality connectors or fittings to enhance structural integrity.
- Regularly inspect and maintain the frame, checking for signs of wear, rust, or damage.
By carefully selecting materials, following construction steps, and implementing stability measures, you can build a strong and reliable frame for your polytunnel greenhouse.
Covering and Ventilation
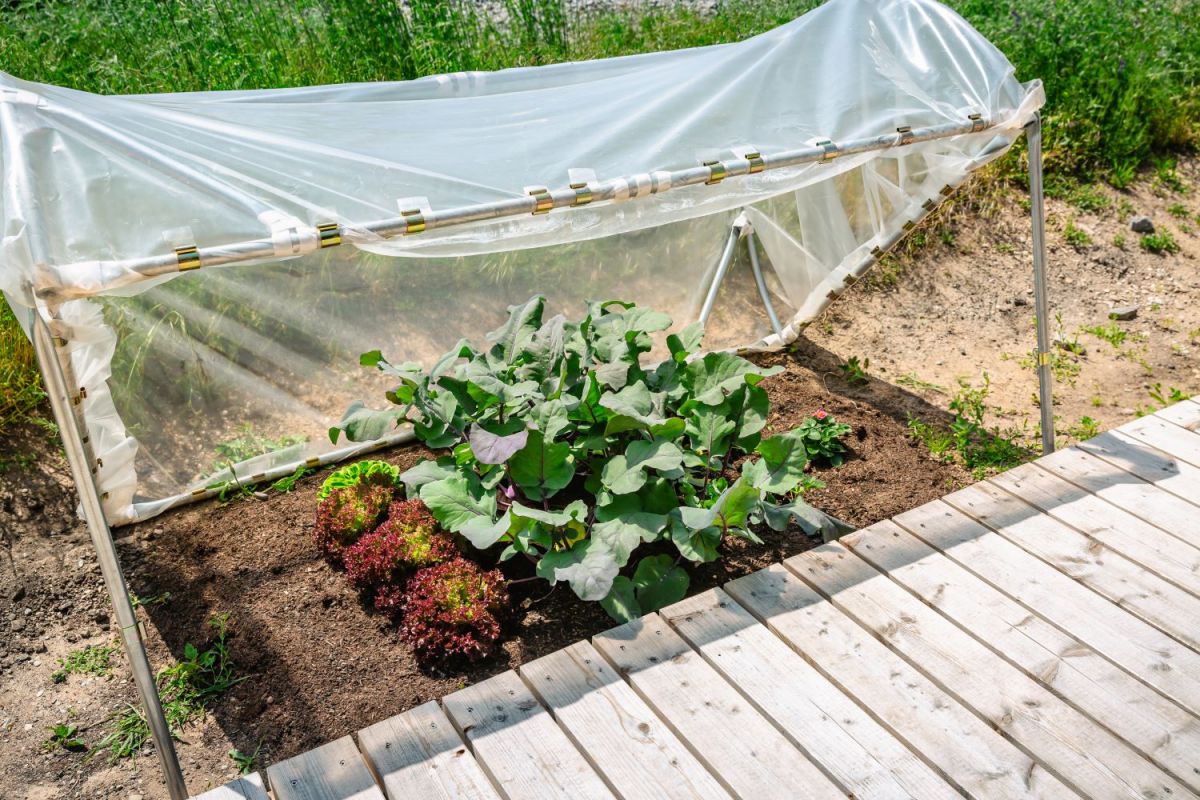
Choosing the right covering material is essential for optimal plant growth and protection. Popular options include polyethylene film, which is lightweight, durable, and cost-effective, providing excellent light transmission and insulation. Alternatively, polycarbonate panels offer superior strength and weather resistance, with excellent light diffusion to prevent sunburn and promote even growth.
Ensure proper installation of the covering material to maximize the lifespan and performance of your polytunnel greenhouse. Securely attach the covering to the frame using durable clips or fasteners. Consider a tensioning system to maintain cover tightness, preventing sagging or flapping in windy conditions.
Proper ventilation is crucial for regulating temperature, humidity, and air circulation. Install vents or windows on both ends of the structure to allow hot air to escape and draw in fresh air. Side vents or roll-up walls can promote cross-ventilation, preventing excessive heat buildup.
Maintaining the right balance between covering and ventilation creates an optimal growing environment for your plants. Choose the right covering material, ensure proper installation, and implement effective ventilation methods for a thriving polytunnel greenhouse.
Plus, Jolly Lane Greenhouse provides a variety of polytunnel greenhouse coverings and materials that will help you get a head start on your building journey!
Maintaining and Caring for Your Polytunnel Greenhouse
Regular maintenance is essential for the longevity and performance of your polytunnel greenhouse. Here are key tips for maintaining and caring for your greenhouse:
Regular cleaning and sanitization: Keep your greenhouse clean to prevent dirt, debris, and potential pathogens. Regularly sweep or hose down interior and exterior surfaces. Disinfect the greenhouse with a mild soap and water solution to prevent disease spread.
Pest and disease control: Protect your plants from pests and diseases with integrated pest management. Regularly inspect plants for infestation signs and address issues promptly. Use organic pest control methods, like beneficial insects or natural sprays, to deter pests.
Seasonal maintenance: Adjust your maintenance tasks with the seasons. In spring, ensure proper ventilation and remove overwintered debris. In summer, monitor temperature and humidity to prevent overheating. In fall, clean out fallen leaves and insulate the greenhouse for winter.
Visit Jolly Lane Greenhouse for Your Polytunnel Greenhouse Needs
By following these maintenance tips, you can enjoy the benefits of your polytunnel greenhouse for years. Regularly check for necessary repairs and adjust your maintenance routine based on plant needs and local climate.
Don’t forget to stop by Jolly Lane Greenhouse and contact one of our garden specialists. With plants, soil, polytunnel greenhouse coverings, and more, we’ll load you up on the supplies necessary to help you construct your personal polytunnel greenhouse.
